How to Make A PVC Niddy Noddy
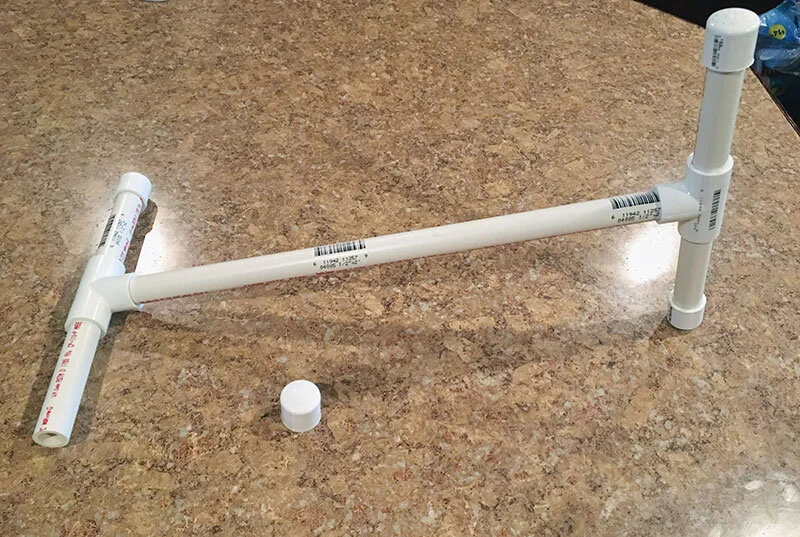
In this post, I’ll show you how to make a niddy noddy out of PVC pipe. This costs around $5, and it only takes a few minutes to assemble once you have your parts. The best part is that you can use this for dyeing yarn, setting your handspun yarn with steam, or just holding your skeins of yarn before you wind them into balls. Wood niddy noddies would warp or get moldy if you consistently get them wet, so the PVC version is a more frugal option as well as more versatile.
Disclosure: This post contains affiliate links, which means I may receive a percentage if you make a purchase using these links. This won’t cost anything extra to you. See my privacy policy for more details.
Video Tutorial
If you want a quick video tutorial, see below.
If you can’t view the video above, try this one. Don’t forget to subscribe to my Youtube channel for more cool projects and tutorials.
Why do you Need a Niddy Noddy?
Before I started spinning, I’d actually never heard of niddy noddies, but they’re a useful tool and they have a silly name that’s fun to say, which is a nice bonus.
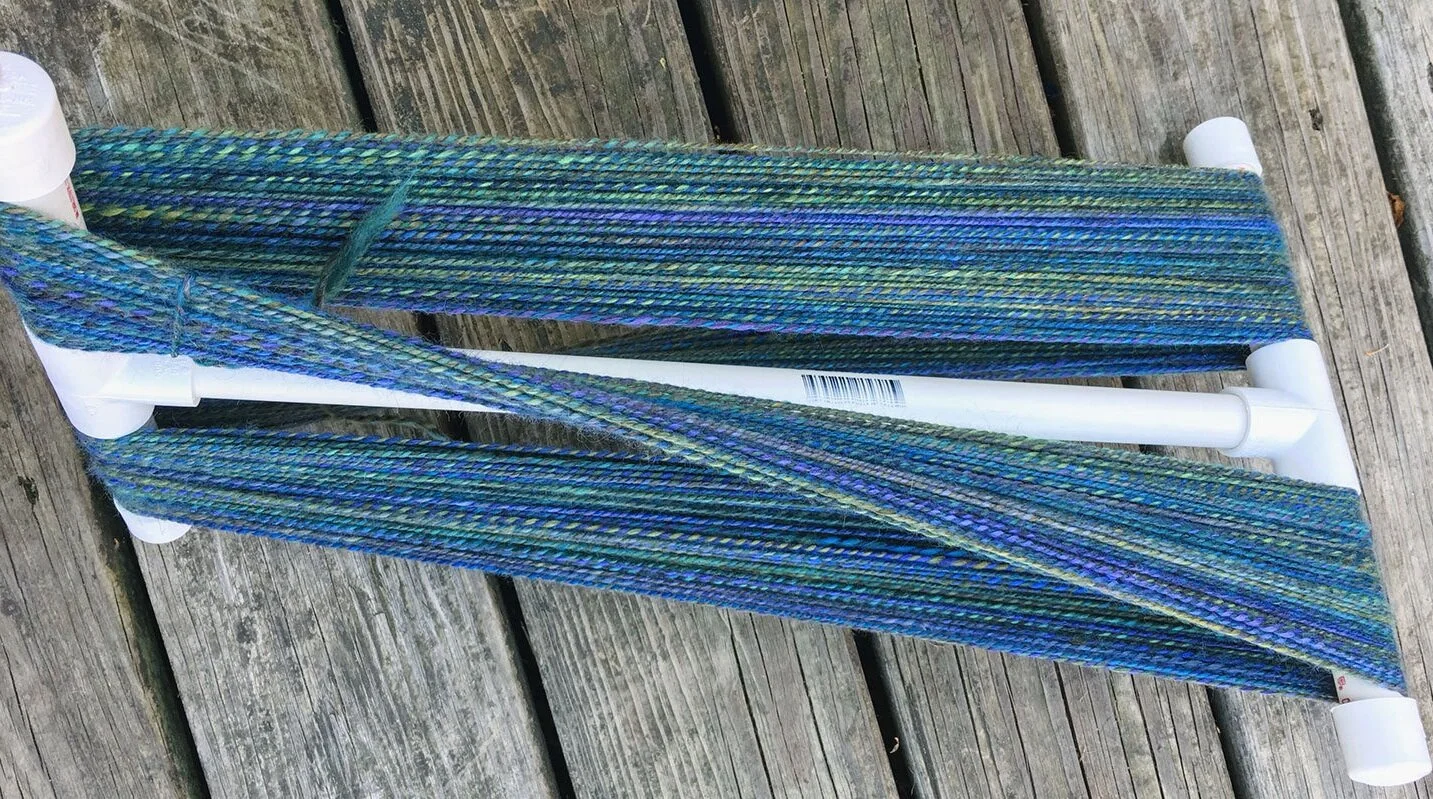
Yarn on a PVC niddy noddy
Processing Yarn Skeins
If you’ve ever been to a fancy yarn shop, you’ve probably seen skeins of yarn twisted up, and if you’ve ever bought one of these, you realized that you can’t use it as is. Once you unwind it, it’s just a big coil of yarn that will get tangled up unless you wind it into a ball before using it. So if you like buying fancy yarns that come in skeins instead of balls, you could put your unwound skein on a niddy noddy to hold it and keep it from snarling while you wind it into a ball.
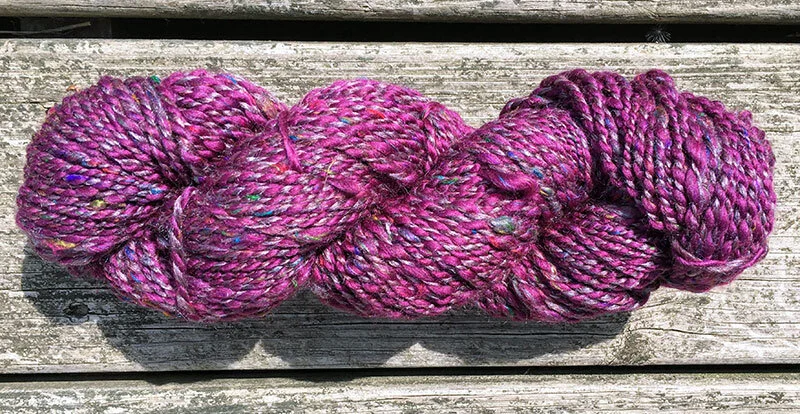
Skein of Yarn
Dyeing Yarn
The PVC niddy noddy is also great for holding your yarn while you dye it so that it doesn’t get tangled up or knotted, but you still have easy access to the full length of the yarn. This works well if your un-dyed yarn came in a skein to begin with. You just need to untwist it and put it over the arms of the niddy noddy.
Setting a Handspun Yarn with Steam
If you’re a spinner, you know that you need to get your yarn off your spindle or spinning wheel in order to use it. You can’t wind it directly into a ball because the yarn that comes off your spindle or wheel isn’t finished until the twist has been set by soaking or steaming. I like setting my yarn with steam because it’s quicker than soaking it and waiting for it to dry, and I’ve had pretty good results with this method. The PVC niddy noddy is great for this because it can get a little wet without having any problems, unlike wood.
Determining Yardage for Handspun Yarn
Another helpful thing about niddy noddies is that they’re made so that one circuit around the arms equals a handy measurement such as one yard or two yards. The one I made is two yards in length. This is useful because you can easily measure the yardage of your yarn by counting the number of times you wrapped the yarn around the niddy noddy. Just look at one of the arms and count the number of times the yarn passes over it. Then multiply that number by two, and you have the total yardage that you spun.
Quick Rundown
Materials needed:
Sandpaper in case any of your PVC components have rough spots
Cost: around $5 per niddy noddy
Time to completion: 5-10 minutes
How to Make A PVC Niddy Noddy
How to cut PVC pipe
I used a miter for cutting the lengths I needed, but if you don’t have your own saw, I believe you can ask most home improvement stores to cut it for you, as long as you don’t have a large number of cuts to make.
What Size Pieces to Cut
To make a 2 yard niddy noddy, you will need five pieces of PVC pipe:
Longest piece for the middle section (1 needed): 15 1/4”
Shorter pieces for arms (4 needed): 5”
How to Make A PVC Niddy Noddy
Different Sizes I Tried
I have a wood niddy noddy that measures two yards, but its arms are slightly tapered at each end, while the PVC niddy noddy arms are straight, so you will end up having slightly more than two yards if you wrap your yarn all the way out to the ends of the arms. However, I think the convenience and cost of the PVC niddy noddy negate this slight problem.
How to Make A PVC Niddy Noddy
Looking around online, I saw people recommending that the center section should be either 15” or 16”, so I made niddy noddies with both of these lengths. Then I wrapped a test string around each one to measure the full length that the yarn takes as it goes around the arms.
The 15” center section was only 71” around. But the 16” center section was 76” around. However, 15 1/4” came out at a perfect 72” or two yards
As noted above, you will end up having slightly more than two yards as you continue to wind on to the niddy noddy, so that may be why some people recommend 15”, even though it’s slightly under two yards when you start winding on.
Sometimes I spin small batches of yarn to test my gauge and yardage, though, so I wanted the innermost passes around the niddy noddy to be a full two yards.
I also tried making the arms 4”, but I had trouble fitting my larger batches of yarn on without scrunching them up too much, and since I use a steamer to set my yarn, I don’t want it to bunch up too much. If you go larger than 5” arms, though, it’s a little too wide to wind on fluidly, and you have to move it around more, which I find tiring. Your armspan may allow for a wider niddy noddy.
How to put together
Putting it together is super easy. Lay out your longest piece and put the two tee fittings on either end. Make sure they’re perpendicular or pointing in opposite directions.
How to Make A PVC Niddy Noddy
Then put your four arms in the open sides of the tee fittings.
How to Make A PVC Niddy Noddy
Last, put your caps on the arms so that your yarn won’t slide off, and also so that the rough ends of the arms won’t catch on your yarn.
How to Make A PVC Niddy Noddy
To get the yarn off the niddy noddy, you’ll need to remove one of the caps. I put one cap on loosely without pushing it all the way down so that I can remove it more easily. My caps had barcodes on them, so I turned the other three caps so that the barcodes point down, and I left the loose one pointing out toward me, so I know which one it is.
How to Make A PVC Niddy Noddy
Some people use glue on their PVC niddy noddies to hold everything in place, but I haven’t had any problems with it falling apart, and not gluing it made it easier for me to take it apart while experimenting to find what lengths I liked best. I redid the arms and center section a couple of times to find the length I liked best, but I didn’t have to buy more tee fittings or caps to accommodate this experimentation.
How to Wind Yarn around Your Niddy Noddy
Winding onto your niddy noddy isn’t too difficult once you get the rhythm of it established. Basically, you want to choose one arm to start with, hold the yarn tail close to the center piece, so it doesn’t come undone, and just go around each arm in order.
See this video for a clearer example of how to do this:
If you can’t view the video above, try this one. Don’t forget to subscribe to my Youtube channel for more cool projects and tutorials.
When I’m done, I loosely knot each yarn tail around the rest of the hank on that side, so it doesn’t come unraveled.
How to Make A PVC Niddy Noddy
Don’t forget to count the number of yards you have before you take it off the niddy noddy!
How to Steam Yarn
As I mentioned earlier, my favorite way to finish handspun yarn is by steaming it. I use J-2000 Jiffy Garment Steamer, but you can use any clothes steamer, the steam setting on your iron, or even steam from a kettle of boiling water.
Just run the steam over your yarn on all sides of the niddy noddy. You’ll see it “relax” a little bit as you go. The PVC won’t warp or start to mold like a wood niddy noddy would.
Your yarn may still be a little “energized” or twist back on itself while you’re working with it. That’s the fun of working with handspun! It has a life of its own.
Other Tools You Might Want
All items listed here are from The Knit Store on Etsy.
I’ve listed some tools you may also want if you need a niddy noddy. The ball winder I linked to is a huge time saver from winding balls by hand. There are cheaper ball winders out there, but I like this wooden one because it’s higher quality and you can get replacement parts for it, should you need them. When I looked into cheaper, plastic ball winders, the main complaint I saw was that they break easily and you can’t get parts for them. You just have to buy a new one. If you have to buy new ball winders frequently, the savings start to evaporate.
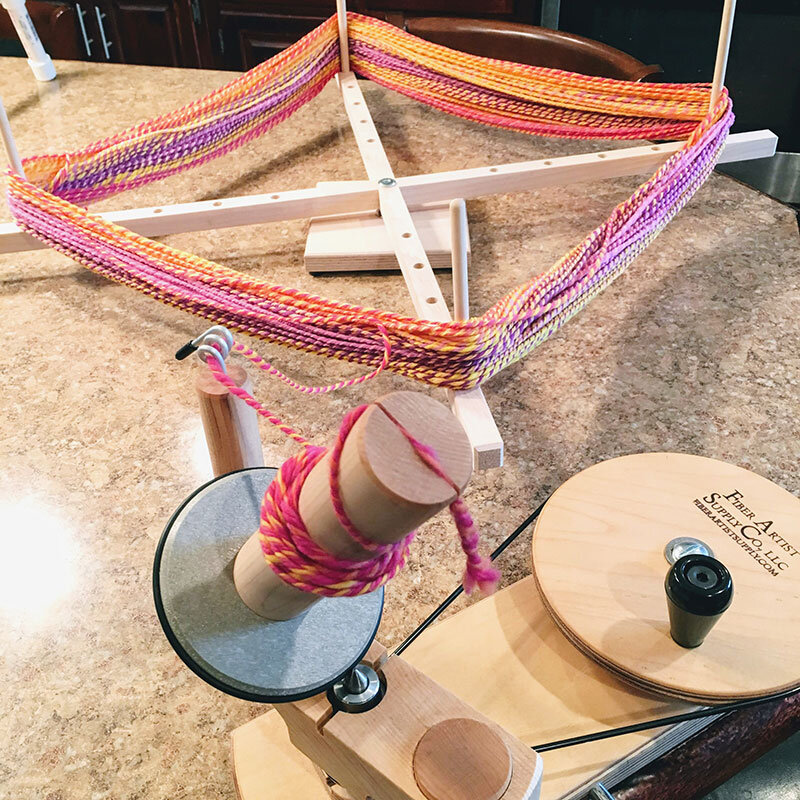
Since I was getting a ball winder from The Knit Store, I also got one of their large swifts, which is adjustable and can accommodate 2 yard hanks of yarn. These take up a little more room than an umbrella swift, but they cost less, and they work just as well. This one can be taken apart when you’re not using it, so it doesn’t take up too much room.
You can take your yarn directly off the niddy noddy and place it on the swift. The swift allows the yarn to unwind in a tidy fashion while you’re turning it into a ball.
Yarn Swift and Ball Winder
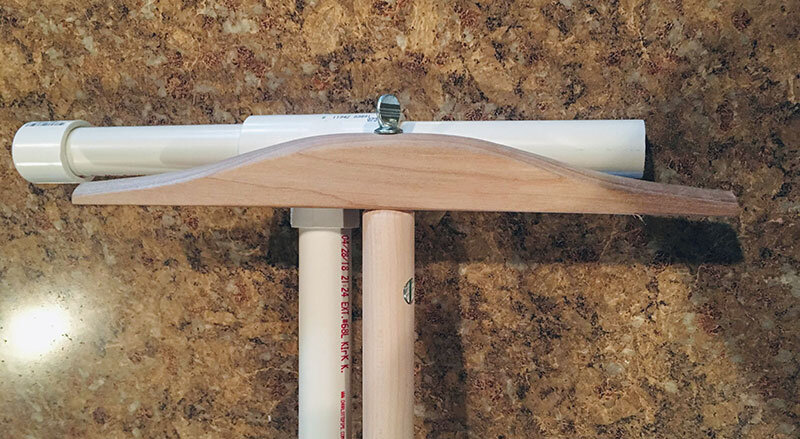
And if you want a wooden niddy noddy, I like The Knit Store’s two yard one.


